DMARC generator - Create your DMARC record in a few clicks
lemwarm
July 22, 2024
|4 min read
Having a hard time creating a DMARC record for your domain?
Our DMARC generator could end your troubles today!
No more figuring out how to set up DMARC.
Just enter your domain and choose your preferred settings, and you’ll have your DMARC record ready in seconds.
But first:
A bit more about DMARC 👨🏫
DMARC stands for Domain-based Message Authentication, Reporting, and Conformance.
It tells email servers what to do with emails that fail authentication by two other email authentication methods: SPF and DKIM.
The P (policy) settings in a DMARC record is where the magic happens. It has three main settings to choose from:
- None: Emails are delivered normally whether they fail authentication or not
- Quarantine: Emails that fail authentication are sent to the recipient’s spam folder
- Reject: Emails that fail authentication are not delivered (that is, they bounce)
DMARC is a crucial weapon against email spoofing and other cybercrimes. It helps protect both your domain and the recipient.
This leads to a huge benefit for anybody doing email outreach:
Because of the extra security that DMARC brings, internet service providers will have more trust in your emails.
The result? Better inbox placement!
How to use the DMARC generator ⚒️
Here’s our DMARC generator:
window.addEventListener('message', function(event) { if (event.data.from == "iframe" && event.data.action == "resize") { let iframe = document.getElementById("myIframe"); iframe.style.height = (event.data.height + 10) + "px"; } });
And here’s how to use it:
Step 1: Enter your domain:
.png)
When you’ve entered your domain name, the policy settings will appear.
Step 2: Select your policy setting:
.png)
Step 3: Select your policy setting for subdomains, e.g., subdomain.yourdomain.com.
Step 4: Enter the email address you want your DMARC reports to be sent to:
.png)
Step 5: Choose how often you want to receive the DMARC reports:
.png)
Step 6: Decide on what percentage of emails the DMARC policy should be applied to.
If you set it to 90%, then 10% of emails will not be subject to the DMARC policy and associated actions.
.png)
Step 7: Click “Generate DMARC Record”
You should now have a complete DMARC record like in the image below:
.png)
Adding the DMARC record to your domain’s DNS settings ⚙️
Now copy and save your DMARC record because you are not done yet.
The final step to making it all work is adding the record to your domain’s DNS records.
Typically, this is done where your domain is being hosted, but sometimes, you must edit the DNS settings in your domain provider’s account.
And sometimes… they are one and the same!
Either way…
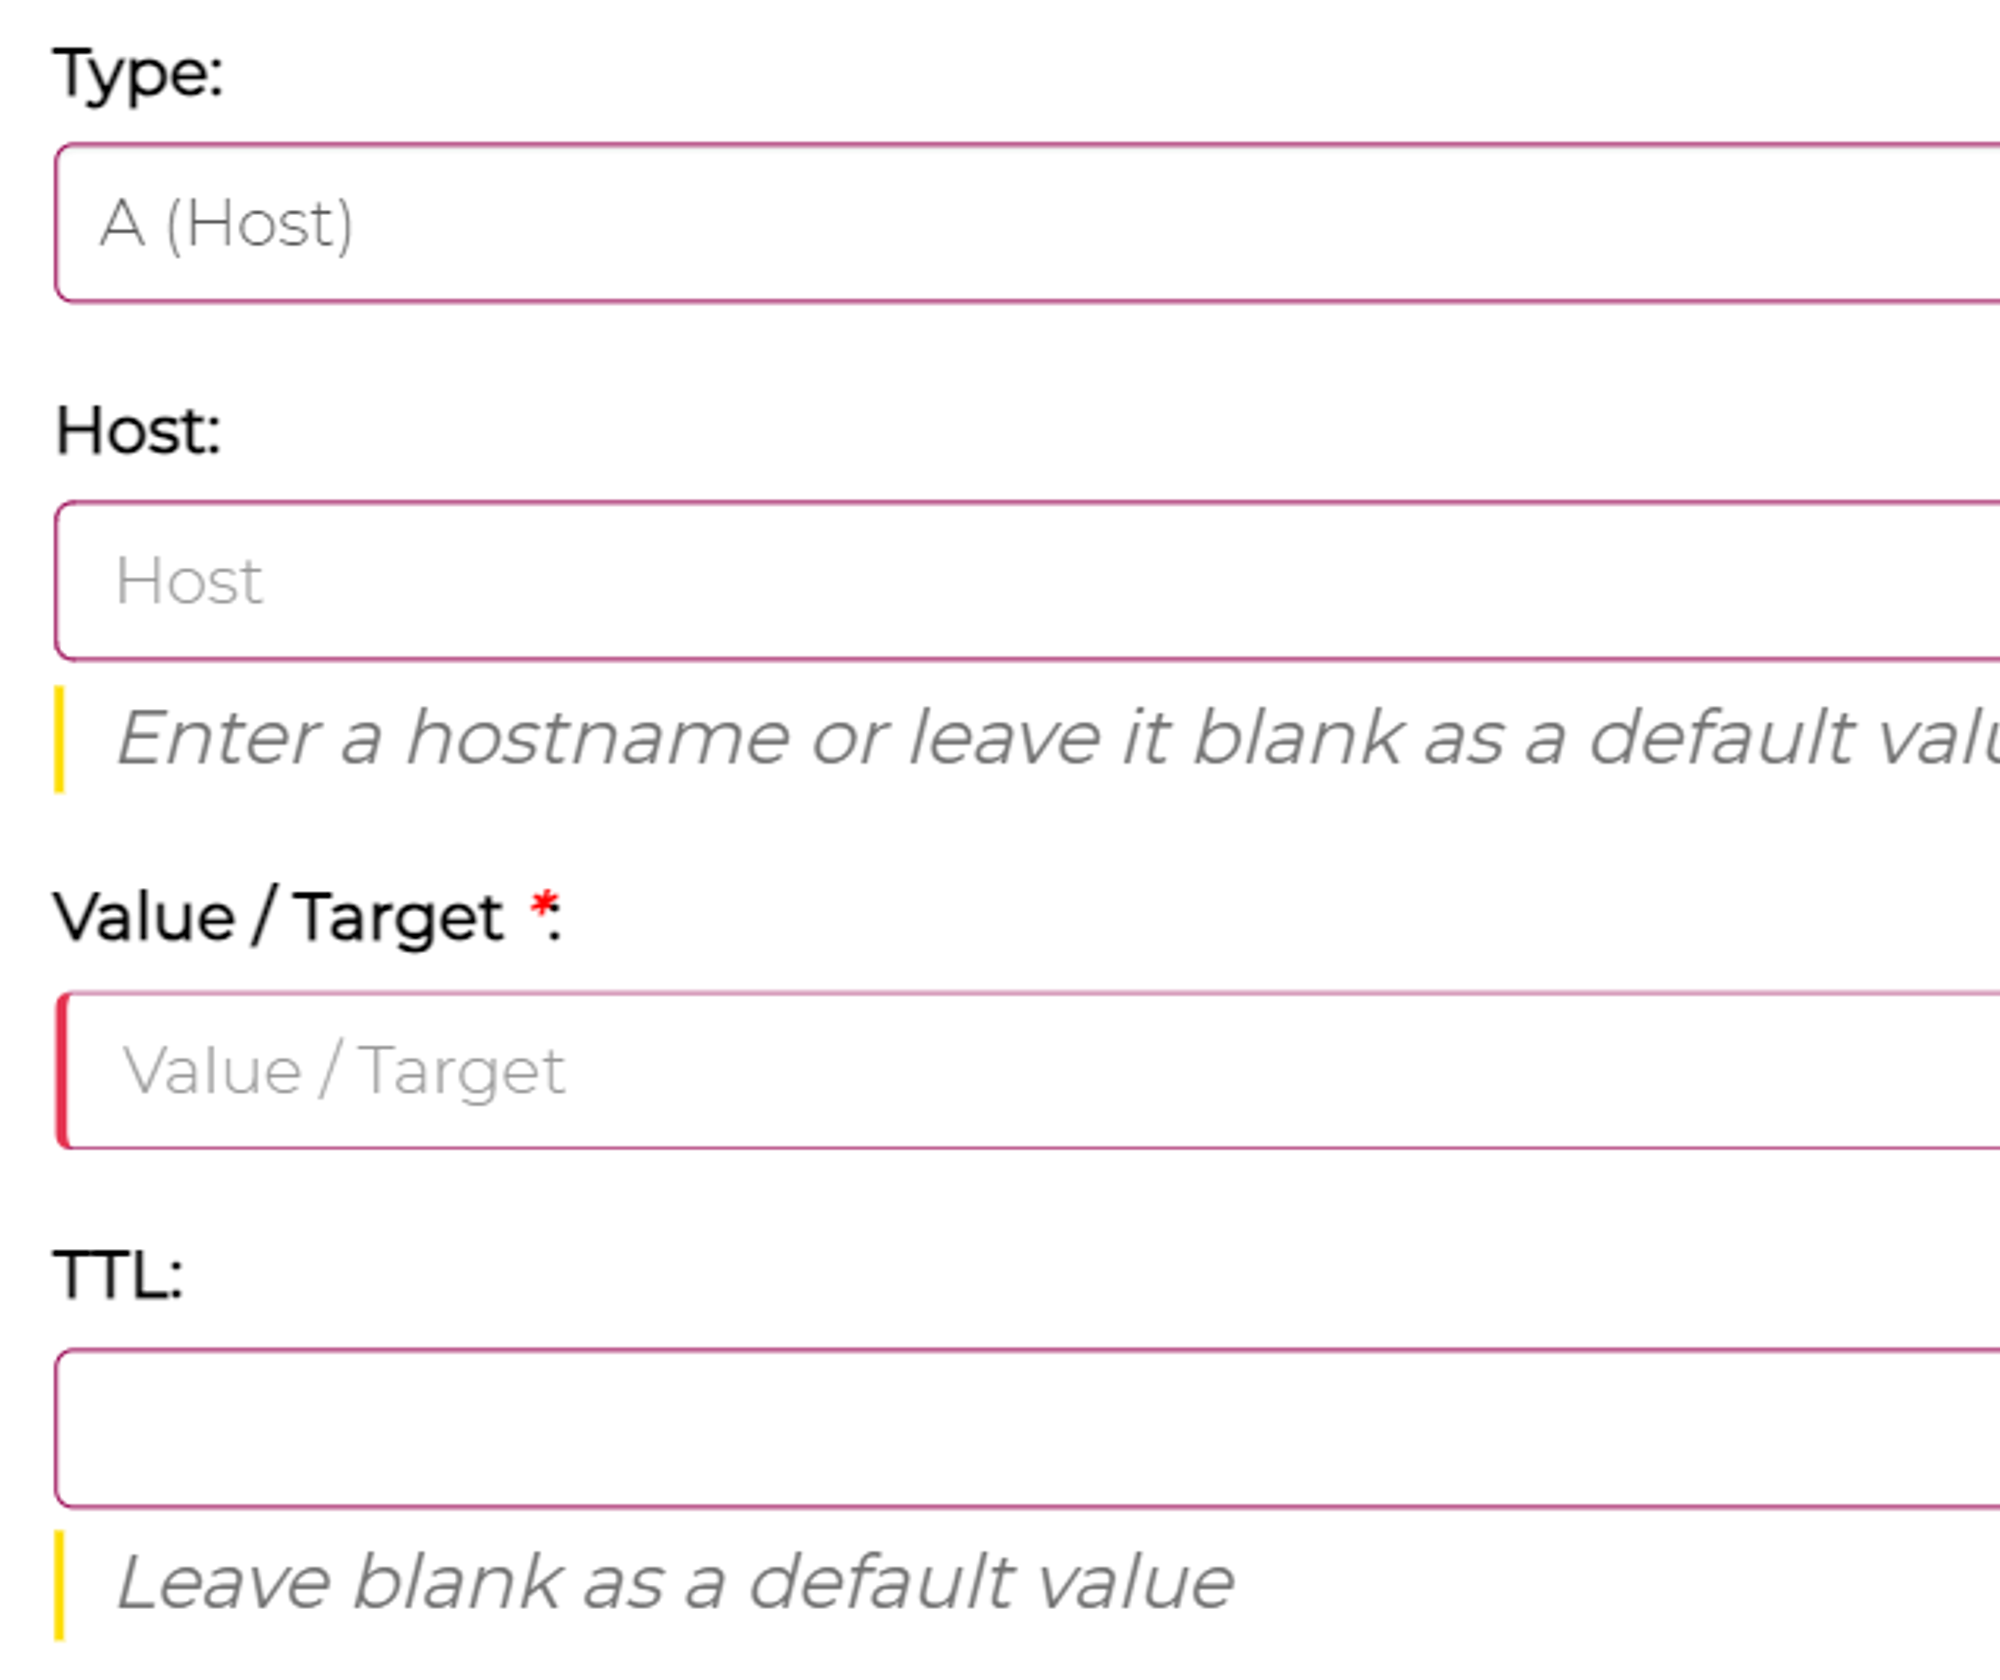
If you go to your domain’s DNS records and click on “Add new record” (or similar), you’ll see a screen like the one below:

If you compare this screen to the information in our DMARC generator, you'll know exactly what information to enter here.
Important: After saving your record it can take up to three days for your record to become active. Don’t worry, typically it’ll take a few hours.
Setting up DMARC on specific providers 📧
If you need more specific instructions on how to set up DMARC on specific providers, we’ve got your back, too.
Check out these tutorials on how to set up DMARC on well-known email providers:
And here are tutorials on how to set up DMARC on some popular domain providers: